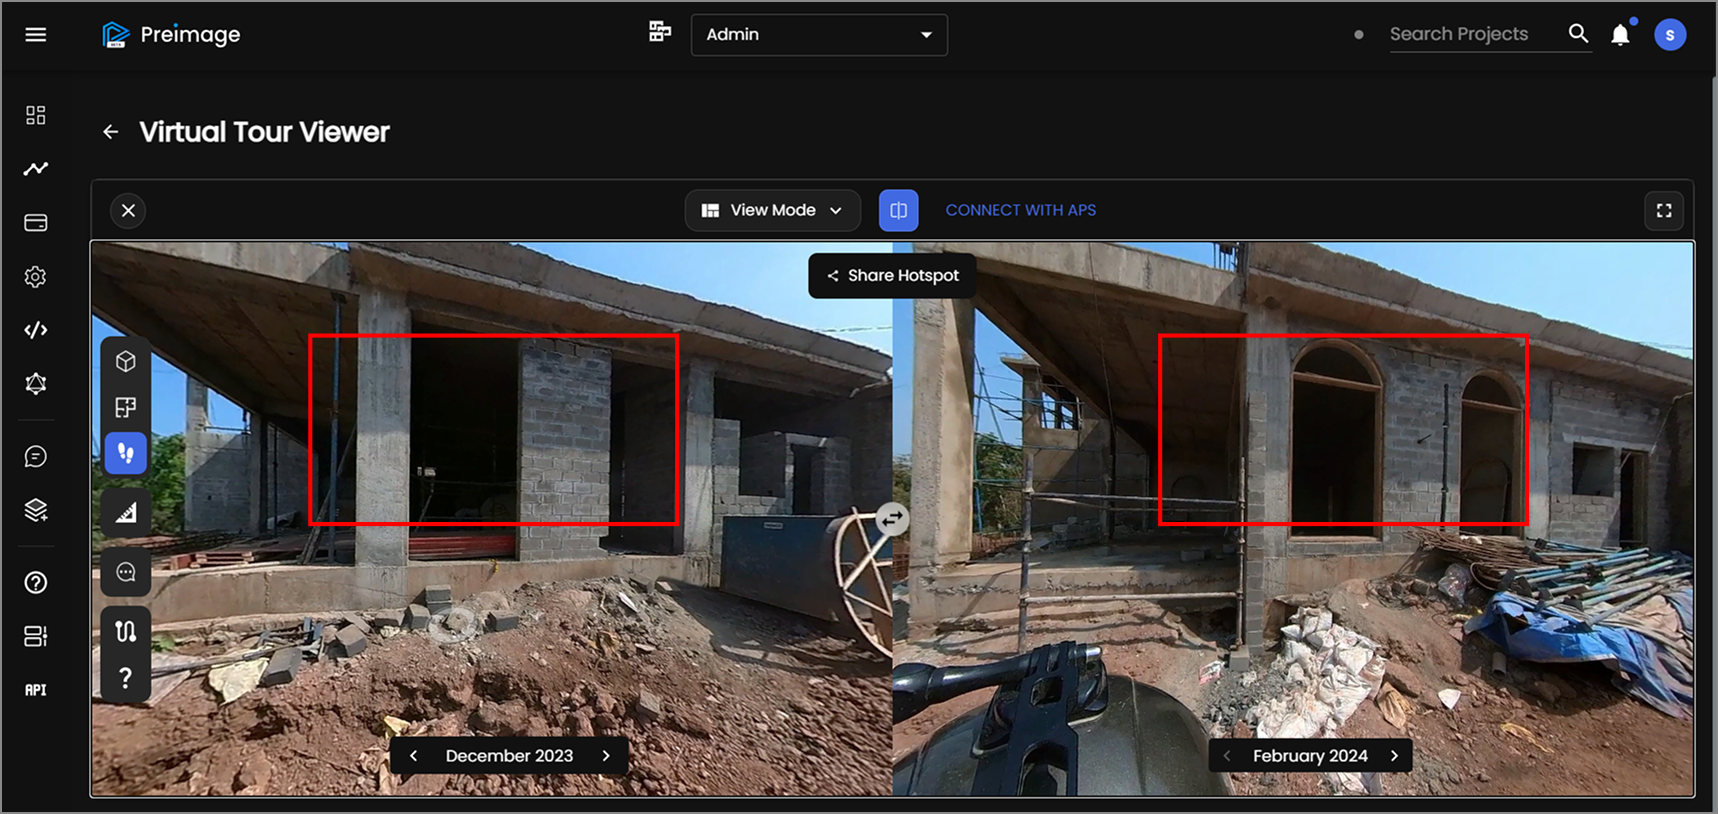
Preimage specializes in 3D scanning and visualization of built environments, converting reality into precise digital models. This technology enables the creation of accurate, detailed digital replicas of physical spaces, facilitating better documentation, analysis, and management of those environments.
Creating a 3D model of any space might sound daunting, but with Preimage, it’s a breeze. Whether you're documenting a construction site, capturing the layout of a building, or preserving a historic location, Preimage makes it simple. This guide will walk you through the easy steps to transform your space into a detailed 3D scan.
Getting Started: Preparing Your Equipment
Before diving into the scanning process, ensuring that your equipment is fully prepared is crucial. Start by charging your 360-degree camera and checking that you have plenty of storage space available. This guarantees you won’t have any interruptions during the scan. Don’t forget to disable voice commands on your camera and remember to restart the recording every 30 minutes to avoid data loss.

Mount your camera securely on a helmet or a stick, positioning it above your head. With everything in place, you're ready to begin capturing your space.
The Scanning Process: Capturing a Full 360-Degree View
Scanning is as simple as taking a video walkthrough of the space. With a 360-degree camera, capturing a full 3D scan is both easy and efficient. Unlike traditional methods that require pointing the camera at each wall, a 360-degree camera captures all directions simultaneously, which saves you time and effort.
This method is not only quick but also reliable. Just walk around your plot in a complete circle, moving slowly and steadily, and let the camera handle the rest. Be sure to follow walls, navigate around obstacles, and revisit areas you've already scanned to reduce blind spots. And if people appear in the video, there's no need to worry, Preimage anonymizes them, ensuring that your 3D scan remains unaffected.

If you take a break during scanning, resume from a checkpoint slightly earlier than where you left off to ensure continuity.
Enhancing Accuracy: Setting Up Reference Points
To make your 3D model even more precise, consider setting up references of some parts of the same. This can be as simple as placing A2/A3 sheets on the walls or measuring known dimensions like windows. These references help during the calibration process, ensuring that your model is as accurate as possible.

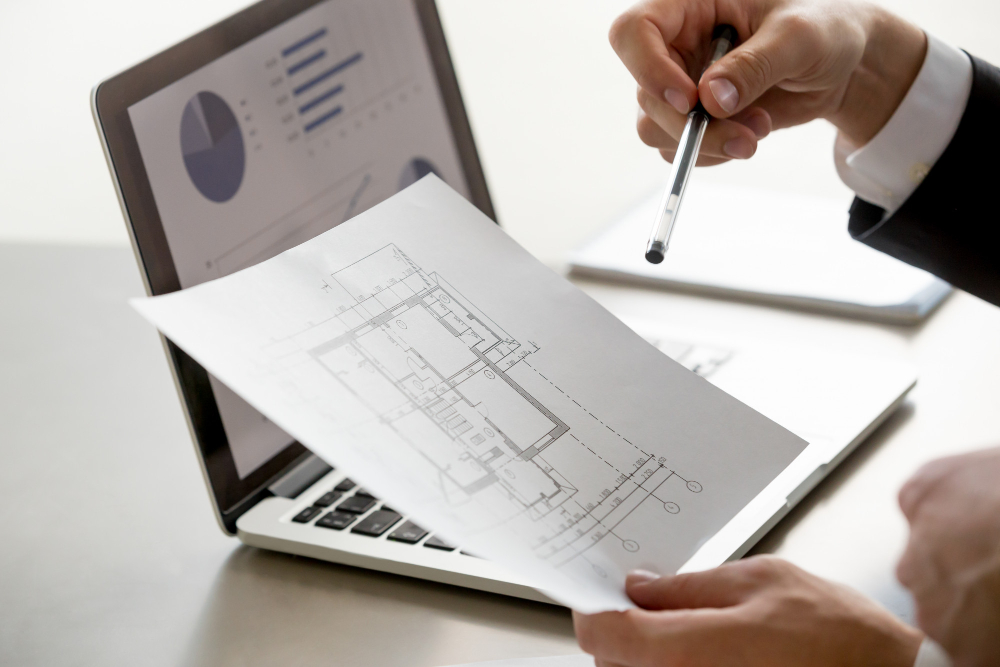
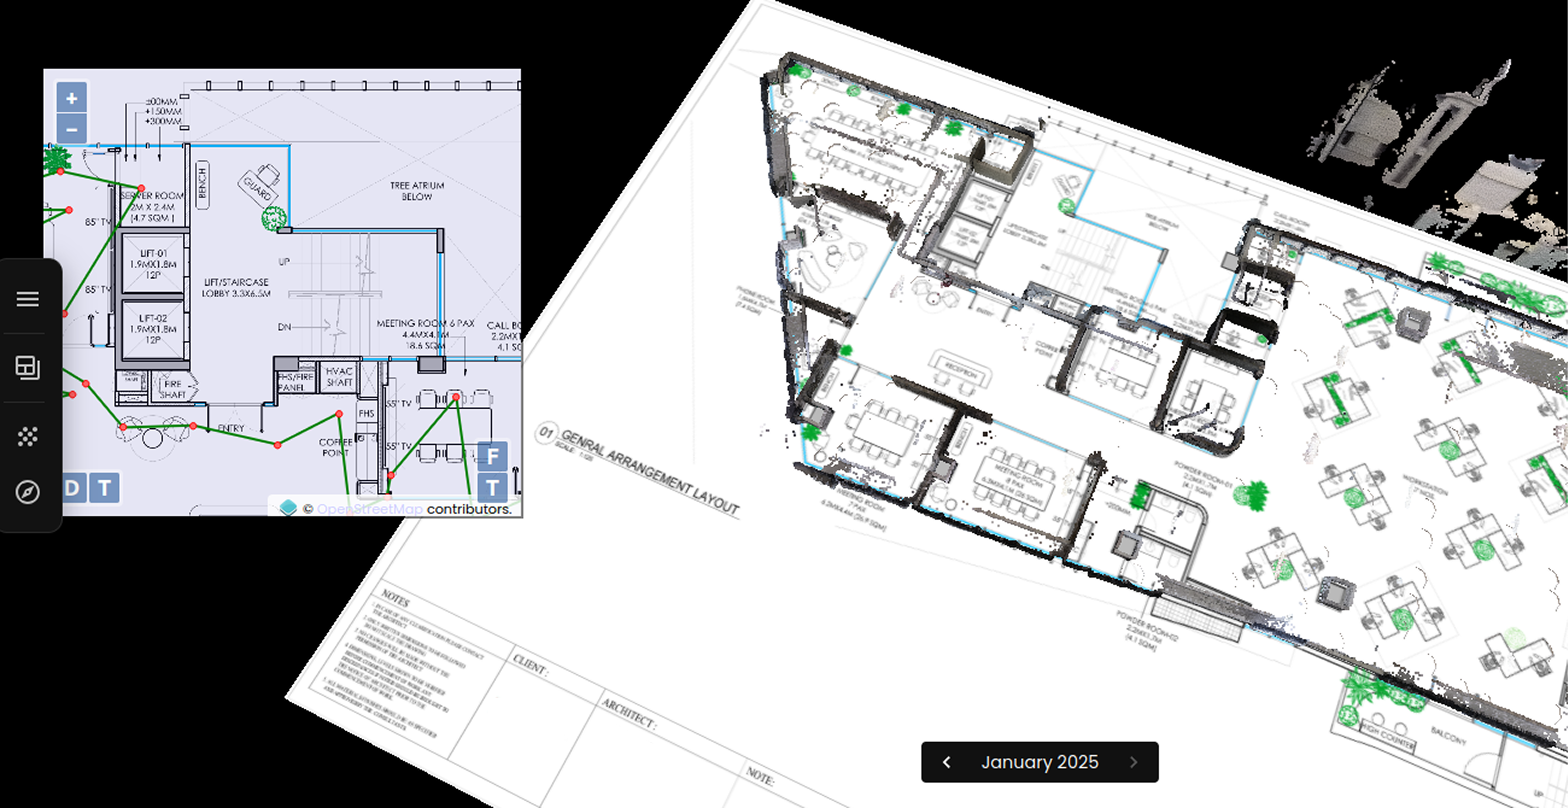
If you're working in a large area, use floor plans or other site drawings to guide your scanning route. This helps you navigate efficiently and ensures that every part of the space is captured.

Finalizing Your Scan: Creating the 3D
After completing your scan, upload the captured footage to Preimage’s platform.
The software quickly transforms your video into a detailed 3D model. The entire process is designed to be user-friendly, making it easy to achieve professional-quality results without extensive technical expertise.
Your Space, Reimagined in 3D

With Preimage, turning your space into a 3D scene is as simple as following these easy steps. Whether you're a seasoned professional or a newcomer to 3D modelling, Preimage empowers you to capture and transform any environment into a detailed digital model. Ready to see your space in a whole new dimension? Start your 3D scanning journey with Preimage today.



.webp)